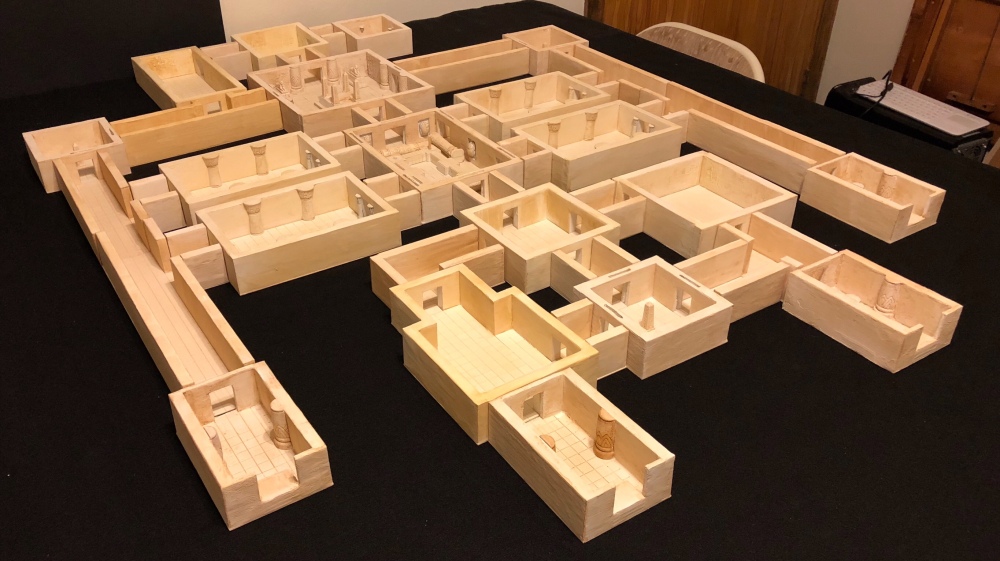
The last legs of our tomb project are finally through! It’s been quite a sprint to the finish, pushing aside almost every other project for four months just to see it done in time for Pensacon 2018. But it was worth it. In the span of around six weeks we’ve taken the walls from their puttied-and-glued state in the last post and coated them well with a white spray primer, washed them with Vallejo’s Sepia Shade 73.300 Wash, and filled them with many little bits and bobs.
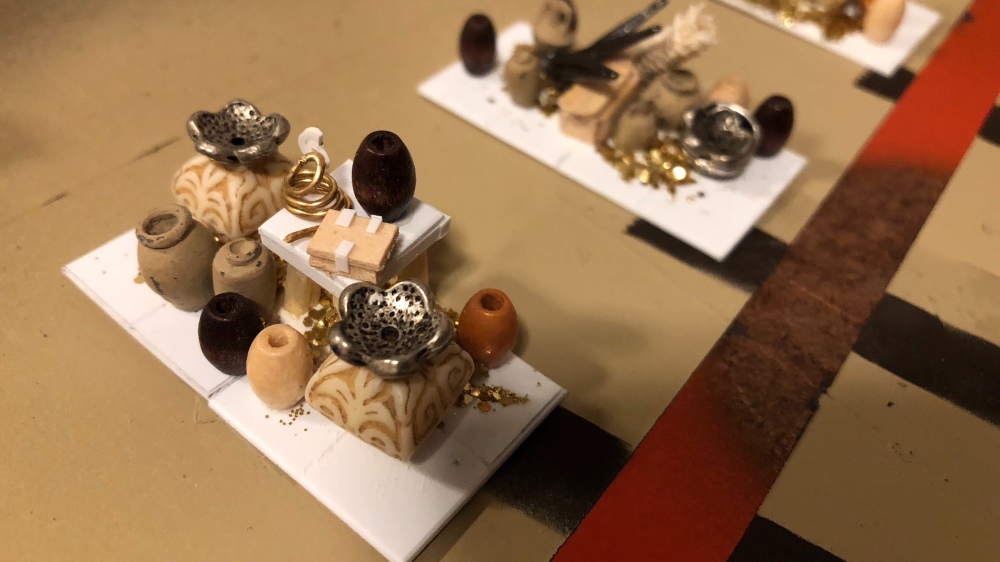
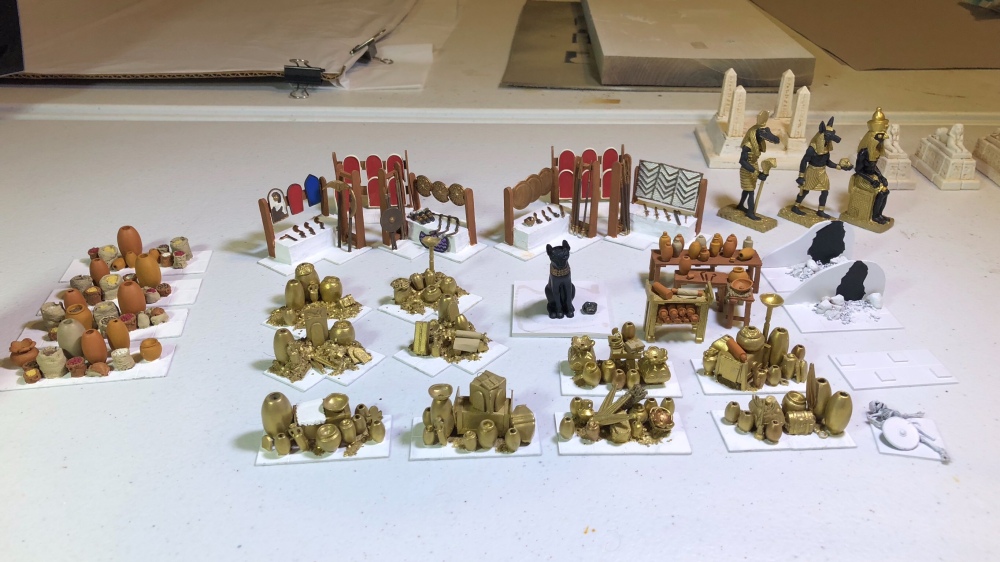
Of these various drop-in “props,” we’ve included some 53 “Interactable Objects”, each of which has its own individual effect upon the group that fortunately (or unfortunately) searches it. All sorts of things went into their construction: resin baskets and food containers, oval beads, model railroad rocks and ballast, more wall spackle, large and small-cut glitter… take your pick, it’s in there and more. Here are some of these on their way to being finished:

Feel free to contact us for the custom “Interactable Sheet” PDF, or look for it to be appearing (hopefully) soon on Wargame Vault for download…
NEW TECHNIQUES
You will notice that the second of the above images includes Egyptian weaponry, the custom-formed solution to a previous dilemma we mentioned in the last post. A few other roadblocks we’ve encountered since have also been solved, by way of a few new techniques we’ve learned to use:
Milliput – An off-white, two part epoxy with the consistency of fine clay and chemically self-hardening when mixed — we’ve used it before in limited excursions, but for this project it came in perfectly to form stand-ins for objects we couldn’t find in scale: a giant fly, a bread-loaf, a hailstone, and the casts of skin boils. Without having much sculpting experience behind me (something I hope to remedy eventually) it seems to have done the trick well enough. The finished sculpts along with the others:

Transparent Epoxy Resin Water – In almost the same process as the casting resin we used to duplicate columns, this transparent, chemically-hardening substance has served an excellent substitute for actually filling our models with real water. Absolutely glass-clear with no natural tint and a longer work-time capable of clearing itself of bubbles, I’m sure this will prove to be quite useful in the future. For this project we figured out a ratio of Woodland Scenics Sage Green model-water pigment to hit that cloudy green cave-water look we wanted.

PLAY-TESTING
Finally, we were able to playtest the scenario twice, with a number of tweaks made to the Interactables and Dangerous Terrain charts, as well as the scenario itself. Major lesson learned: to play a game at a convention, or even with people you don’t know or who are unfamiliar with the game, sometimes you gotta loosen up and drop the specific details. Here are some photos from our two play-tests at Bobe’s Hobby House in Pensacola (thanks, Mike Bobe, for the late night hosting!) along with the hands, torsos and elbows of our gallant volunteer gamers. Special Thanks to: Matthew Smith, Jonathan Rogers, and Jesse and Craig Brown. A Very Special Thanks to: Steve Barrett, for also providing materials vital to the success of our scenario.


If you’re interested we’d be happy to go into greater detail with you on the things we changed, edited, or deleted from the Congo rules; just shoot us a message on Facebook or leave a comment below.
Everything is finally set and handouts have been printed. Come back soon for the after action “Shoot” report from its first completed run at Pensacon!
Thanks for reading,
J.
All photos by Joseph Klingman.

Would love to know more about what you changed from Congo to make this work. And thanks so much for these excellent reports on your process. Inspiring stuff!
LikeLike